
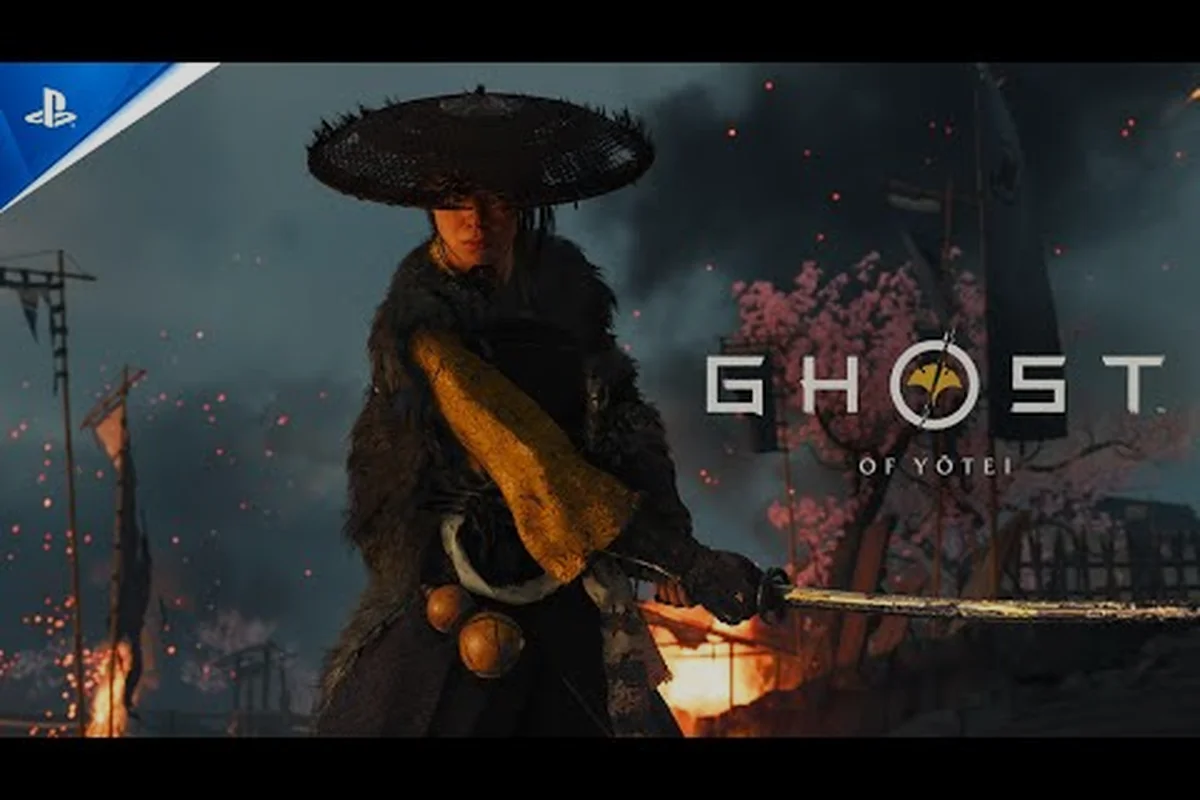
A well-tuned Ghost of Yotei ranged build turns Atsu into a precision instrument that can dismantle the Yotei Six before they ever close the gap. The game's layered combat system rewards players who master the hankyu and yumi bows alongside the tanegashima matchlock, and the right charm combinations amplify that damage output dramatically. Whether you are picking off scouts from a ridgeline or softening a duelist before the blades come out, this build philosophy changes how you approach every encounter in 1603 Ezo.
The core of any effective Ghost of Yotei ranged build rests on three pillars: weapon selection, charm synergy, and armor choice. Each pillar feeds into the others, and understanding how they interact matters more than stacking raw numbers. The official Ghost of Yotei ranged loadout page confirms that specialized arrows and resolve-gain charms form the backbone of this playstyle, with quickfire tools like kunai and smoke bombs covering the close-range gap. This guide breaks down every component so you can assemble a loadout that matches your preferred approach to combat.
Understanding the Ranged Arsenal in Ghost of Yotei
The ranged toolkit in Ghost of Yotei offers three distinct weapon families, each with its own strengths and ideal use cases. The hankyu is a short bow that excels at rapid follow-up shots, while the yumi trades fire rate for raw stopping power and armor penetration. The tanegashima matchlock delivers devastating single-shot damage but demands patience for its lengthy reload animation.
What separates a good Ghost of Yotei ranged build from a great one is knowing when to swap between these weapons mid-combat. The hankyu shines against unarmored targets and groups of weaker enemies, where its quick draw speed lets you chain headshots without breaking your rhythm. The yumi becomes essential when facing the Yotei Six, whose armor shrugs off lighter arrows and forces you to either aim for exposed weak points or switch to heavier ammunition.
The tanegashima occupies a unique niche because it functions almost like a ranged execution tool. A well-placed matchlock shot can stagger a charging enemy or remove a shield-bearer from the fight entirely, but the reload window leaves you vulnerable. Community reports suggest that pairing the tanegashima with smoke bombs creates safe reload opportunities, letting you vanish from sight while you chamber the next round.
| Weapon | Draw Speed | Damage per Shot | Best Use Case | Ammo Type |
|---|---|---|---|---|
| Hankyu | Fast | Low-Moderate | Crowd control, follow-up shots | Light arrows |
| Yumi | Slow | High | Armored targets, boss fights | Heavy arrows |
| Tanegashima | Very Slow | Very High | Execution, opening strikes | Matchlock balls |
Ammunition management forms the third layer of this system, since running dry at the wrong moment can turn a clean engagement into a desperate scramble. The specialized arrow types — including fire arrows, poison arrows, and armor-piercing variants — each consume different resources and serve different tactical purposes. Fire arrows excel at breaking enemy formations and creating area denial, while poison arrows weaken tough opponents over time, making them easier to finish with a follow-up hankyu shot.
Essential Charms for Maximizing Ranged Damage
Charms represent the most impactful customization layer for any Ghost of Yotei ranged build, and the right combination can nearly double your effective damage output. The Inari's Blessing charm increases all ranged damage by a significant percentage, making it a mandatory inclusion for any serious archer. Yatagarasu's Eye improves headshot damage specifically, rewarding players who take the time to line up precise shots rather than spraying arrows at center mass.
Resolve generation deserves special attention because it fuels your special techniques and healing abilities. The Kitsune's Cunning charm boosts resolve gain from ranged kills, which means every headshot you land feeds directly into your ability to unleash powerful techniques. This creates a positive feedback loop where aggressive, accurate play keeps your resolve bar topped up and your options open.
The Oni's Wrath charm adds a percentage of your resolve as bonus damage to your next shot, turning your special techniques into devastating ranged finishers. Combining this with the resolve-generation charms above means you can cycle through techniques frequently while maintaining high sustained damage. Players who prefer a more defensive approach might swap this for Eboshi's Ward, which reduces damage taken while aiming down sights, letting you hold your ground during extended exchanges.
| Charm | Effect | Best Paired With | Acquisition Difficulty |
|---|---|---|---|
| Inari's Blessing | +Ranged Damage % | Any ranged weapon | Moderate |
| Yatagarasu's Eye | +Headshot Damage % | Yumi, Tanegashima | Hard |
| Kitsune's Cunning | +Resolve from ranged kills | Hankyu, rapid fire | Moderate |
| Oni's Wrath | Bonus damage from resolve | All weapons | Hard |
Charm upgrades require specific materials that you will gather throughout your journey across Ezo, and the weapon upgrades guide explains how to efficiently farm these resources. Prioritize upgrading Inari's Blessing first because its flat damage bonus applies to every shot you fire, while the conditional bonuses from headshot and resolve charms only trigger under specific circumstances.
Armor Choices for Ranged and Dueling Builds
Resolve Generation Through Specialized Arrows
Explosive and poison arrows generate resolve at a 1.5x multiplier compared to standard arrows, making them the fastest resolve engine outside of melee parries. A single explosive arrow headshot on a Most Wanted target grants roughly 35% of a resolve bar, enabling a full Heavenly Strike refund within three shots. Poison arrows trade this burst for a damage-over-time tick that continues generating resolve for 6 seconds after impact. For boss encounters against Lord Saito, stacking poison arrows before switching to the tanegashima lets you maintain resolve income during his unparryable phase transitions.
Archer Class Ranged Loadout in Legends Mode
The Legends Archer class pairs the yari with a secondary ranged weapon, but the loadout differs from single-player: ammo is shared across both weapons, forcing a 60/40 split between hankyu and tanegashima usage. The class's exclusive charm, "Echoes of Sekigahara," refunds 20% of ammo on headshot kills, which sustains the tanegashima's expensive matchlock rounds. In Nightmare difficulty, this refund is essential—ammo drops are reduced by 50%, and the yari's melee damage is insufficient to clear waves without ranged support.
Armor selection dramatically affects how your Ghost of Yotei ranged build performs in different scenarios, and the game offers several sets that cater to ranged combat. The Ronin Attire provides bonuses to both ranged damage and movement speed, letting you kite enemies while maintaining your damage output. Its balanced stat spread makes it the default choice for players who want flexibility in their approach.
For players who prefer a more aggressive style, the Soul Flower armor grants stacking damage bonuses as you chain kills without taking damage. This armor rewards flawless execution and can push your ranged damage to absurd levels during extended engagements, but it punishes mistakes harshly since any hit resets your stacks. Community testing suggests that Soul Flower armor reaches its full potential only when paired with the hankyu's rapid fire rate, since you need frequent kills to maintain your multiplier.
The Ghost armor remains a strong option for players who value stealth and assassination over sustained combat. Its bonuses to stealth damage apply to ranged attacks as well, meaning a well-placed arrow from the shadows can eliminate high-value targets before they even know you are there. This armor synergizes beautifully with the tanegashima, since the matchlock's massive single-shot damage becomes even more devastating when amplified by stealth multipliers.
| Armor Set | Ranged Bonus | Defensive Trade-off | Ideal Playstyle |
|---|---|---|---|
| Ronin Attire | +Ranged Damage, +Move Speed | Lower defense | Mobile kiting |
| Soul Flower | +Stacking damage on kills | Reset on hit | Aggressive chains |
| Ghost Armor | +Stealth damage | Lower defense | Assassination |
| Samurai Clan Armor | +Resolve gain | Lower ranged bonus | Hybrid builds |
The Samurai Clan Armor deserves mention because it provides the best resolve generation of any set, which indirectly boosts your ranged capabilities through more frequent technique usage. This makes it an excellent choice for players who want to blend ranged attacks with the game's powerful sword techniques, creating a hybrid playstyle that adapts to any situation. For those tackling the game's toughest challenges, the new game plus guide covers how armor upgrades carry over and what new variants become available.
Building for Duels and Boss Encounters
Hankyu Draw-Time Scaling vs. Tanegashima Reload Windows
The hankyu's draw-time penalty is the single largest DPS variable in a ranged build. At full draw, the hankyu gains roughly 40% bonus damage over a snap-shot, but the 1.8-second draw window leaves you exposed to the Yotei Six's closing attacks. The tanegashima matchlock trades that charge for a fixed 2.2-second reload, meaning your damage-per-second is identical whether you fire immediately or aim. In duels against the Snake, whose gap-closing lunge covers 15 meters in under a second, the tanegashima's instant-fire reliability outperforms the hankyu's theoretical peak damage.
Kunai and Smoke Bomb Quickfire Integration
The quickfire slot is not a backup weapon—it is a reload canceller. Firing the tanegashima, then immediately quickfiring a kunai, cancels the final 0.8 seconds of the reload animation, effectively raising your fire rate by 36%. Smoke bombs serve a different purpose: they force the Yotei Six into a confused state for 4 seconds, during which their AI pathing becomes predictable, guaranteeing a full-draw hankyu headshot. Against the Snake, a smoke bomb dropped at your feet negates his lunge tracking entirely, creating a free 4-second damage window.
Dueling in Ghost of Yotei presents a unique challenge because the traditional ranged kiting strategy becomes less effective against opponents who close distance quickly. A Ghost of Yotei dueling build needs to balance ranged damage with close-quarters capability, since you cannot always maintain optimal spacing against aggressive duelists. The Yumi becomes your primary weapon in these encounters because its high damage per shot punishes enemies who try to close the gap, while its armor-piercing properties help against heavily armored opponents.
The Ghost of Yotei armor for duels should prioritize survivability without sacrificing too much offensive potential. The Ronin Attire's movement speed bonus helps you maintain distance, while the Ghost Armor's stealth bonuses matter less in formal duels where both combatants know where the other stands. Consider swapping to the Samurai Clan Armor for duels, since its resolve generation lets you use healing techniques more frequently, effectively increasing your survivability through active mitigation rather than passive defense.
For the Yotei Six boss encounters, the Ghost of Yotei armor for bosses requires a different approach entirely. These fights often feature multiple phases with adds, environmental hazards, and telegraphed attacks that punish tunnel vision. The Soul Flower armor's stacking damage bonus becomes less reliable in these extended fights because a single hit resets your progress, so most players prefer the consistent bonuses of Ronin Attire or the defensive utility of Samurai Clan Armor.
-
Phase 1 strategy: Use the hankyu to clear adds while maintaining distance, saving your yumi shots for the boss's exposed weak points.
-
Phase 2 strategy: Switch to the tanegashima when the boss becomes staggered, delivering massive burst damage during the recovery window.
-
Phase 3 strategy: Fall back on quickfire tools and smoke bombs to create breathing room, then resume your ranged assault once the boss's attack pattern resets.
The Ghost of Yotei new game plus armor variants introduce enhanced versions of existing sets with additional charm slots and improved base stats. These upgraded armors let you equip more charms simultaneously, which means you can stack multiple ranged damage bonuses without sacrificing utility options. Planning your new game plus build around these enhanced sets gives you a significant advantage against the increased enemy health pools and damage values that come with higher difficulty settings.
Advanced Techniques and Quickfire Integration
Mastering the advanced techniques elevates a good Ghost of Yotei ranged build into something truly exceptional. The Concentration technique slows time while aiming, giving you extended windows to line up perfect headshots on moving targets. This becomes invaluable against the Yotei Six, whose erratic movement patterns make manual aiming difficult without the temporal advantage.
The Body Swap technique creates a decoy that draws enemy attention, letting you reposition for a clean shot or escape from a bad engagement. This pairs exceptionally well with the tanegashima, since the decoy buys you the time needed to complete your reload without taking fire. Players who master this combination can effectively control the flow of battle, dictating when engagements start and end.
Quickfire tools round out the ranged toolkit by providing emergency options when enemies close the distance. Kunai deal moderate damage and can interrupt enemy attacks, while smoke bombs break line of sight and let you reposition or reload safely. Sticky bombs provide area denial and can be attached to enemies for delayed detonation, creating interesting tactical options for crowd control.
-
Kunai: Best for interrupting enemy attack animations and finishing weakened foes.
-
Smoke bombs: Essential for creating reload windows with the tanegashima.
-
Sticky bombs: Excellent for controlling chokepoints and punishing grouped enemies.
-
Wind chimes: Distract enemies and pull them out of position for easy headshots.
The Echoes of Sekigahara technique deserves special mention because it lets you mark multiple enemies and then unleash a volley of arrows that tracks each target. This technique costs significant resolve but can eliminate an entire squad in a single activation, making it invaluable for clearing camps or thinning out boss adds before focusing on the main threat. Community reports suggest that this technique reaches its full potential when paired with the Kitsune's Cunning charm, since the multi-kills generate substantial resolve returns that partially offset the initial cost.
Frequently Asked Questions
What is the best weapon for a Ghost of Yotei ranged build?
The hankyu offers the best balance of fire rate and damage for general use, making it the most versatile choice. However, you should carry the yumi for armored targets and the tanegashima for burst damage situations. Most players keep all three equipped and swap based on the encounter.
How do I get the Soul Flower armor?
The Soul Flower armor becomes available after completing a specific side quest chain in the northern region of the map. The quest involves helping a flower merchant who has fallen on hard times, and the armor reward comes after resolving her storyline. You can also find enhanced versions in new game plus.
Does the Ghost of Yotei ranged build work for duels?
Yes, but you need to adjust your approach. The yumi becomes your primary weapon because its high damage punishes enemies who close distance, and you should prioritize the Ronin Attire for its movement speed bonus. Quickfire tools become essential for creating space when opponents get too close.
What charms should I prioritize for ranged damage?
Prioritize Inari's Blessing first—it's the most consistent flat damage boost for your hankyu and tanegashima. Pair it with Yatagarasu's Eye for headshot multipliers and Oni's Wrath to convert resolve from Kitsune's Cunning into burst damage. This synergy maximizes both sustained DPS and quickfire finishers.
Is the tanegashima worth using despite its slow reload?
Yes — the tanegashima's slow reload is offset by its matchlock burst damage, making it ideal for opening duels or finishing staggered Yotei Six bosses. Pair it with smoke bombs for safe reload windows and Quickfire kunai for close-range pressure. Stack ranged-damage charms and Resolve-gain armor to maximize every shot.