
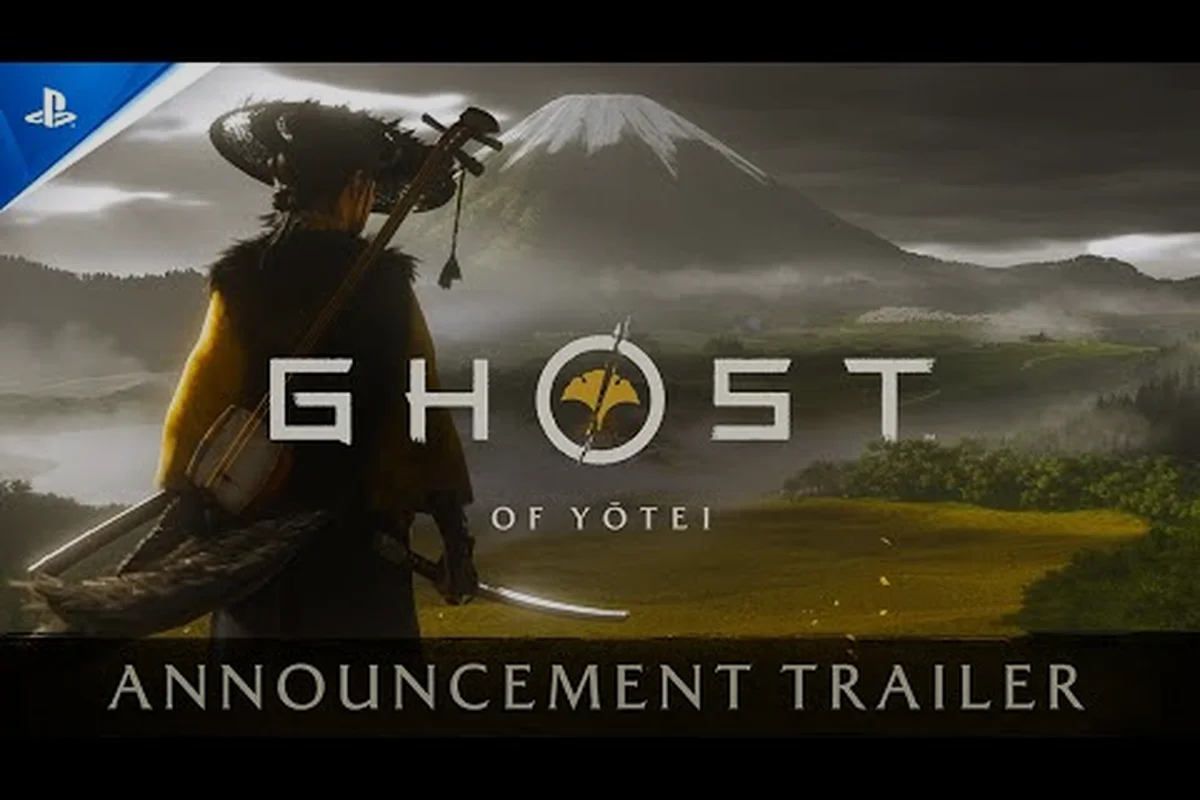
Mastering traversal in Ezo requires a reliable Ghost of Yotei explorer guide, because the northern frontier is vast and unforgiving. Knowing where to find horses and merchants directly determines how quickly you can track down the Yotei Six.
Essential Exploration Tools and Traversal Mechanics
Navigating the sprawling wilderness of 1603 Ezo demands a versatile toolkit, and Sucker Punch Productions has equipped the wandering mercenary Atsu with a deeply integrated set of traversal abilities. Unlike traditional open-world games where fast travel dominates the gameplay loop, this title emphasizes physical engagement with the environment. According to the official PlayStation game page, exploration seamlessly combines the grappling hook, the spyglass, the guiding wind, and a horse, while a wolf companion actively assists in tracking targets. This multifunctional approach ensures that the simple act of moving from one settlement to another remains an engaging, tactical experience rather than a tedious chore.
The core of this system relies on how these individual instruments interact with the dynamic environment. You cannot simply open your journal and click a button to instantly appear at your destination. Instead, you must read the landscape, utilize your tools to identify points of interest, and physically navigate the treacherous terrain. The guiding wind serves as your primary directional indicator, but its behavior is not static. According to community reports, players can actually alter the wind's direction and the fauna it highlights by playing the shamisen, adding a layer of musical interactivity to the standard navigation formula.
Understanding the Grappling Hook and Spyglass
The grappling hook fundamentally changes how you approach verticality in Ezo. Instead of searching for designated climbing walls, you can scale snow-capped ridges and dense forest canopies by targeting anchor points. This creates a fluid parkour experience that rewards spatial awareness. Meanwhile, the spyglass allows you to scout bandit camps and merchant caravans from a safe distance. Identifying threats before engaging them is crucial for survival, especially on higher difficulty settings where ambushes can quickly become lethal.
| Exploration Tool | Primary Function | Secondary Benefit |
|---|---|---|
| Grappling Hook | Scaling vertical terrain | Flanking enemies in combat |
| Spyglass | Scouting distant locations | Identifying merchant caravans |
| Guiding Wind | Pathfinding to objectives | Tracking fauna to activities |
| Shamisen | Altering wind direction | Unlocking unique fauna trails |
Finding and Utilizing Horse Stables Across Ezo
While the grappling hook handles verticality, covering the massive horizontal distances between regions requires a reliable mount. Locating the various ghost of yotei horse stables scattered across the map is a top priority for any wandering mercenary. These stables act as crucial waypoints where you can purchase, swap, or rest your horse, ensuring you always have a fresh mount ready for the long ride to the next boss encounter. Without a horse, traversing the sprawling wildflower fields and snowy plains becomes an exercise in exhaustion, leaving you vulnerable to roaming patrols of the Yotei Six's forces.
Stables are typically found attached to larger settlements or positioned along major trade routes connecting the northern and southern regions of the map. When you discover a stable, it immediately becomes a fast travel point, allowing you to bypass previously explored terrain. However, the horses themselves offer distinct gameplay advantages. A heavier draft horse can absorb more damage before throwing you off, while a lighter stepper is faster and more agile, making it ideal for outrunning pursuing enemies. Choosing the right mount for the terrain you plan to cross is a vital strategic decision. For a broader understanding of the world layout, you can reference our Ghost of Yotei map guide to see how these stable hubs connect across the Ezo region.
Ghost of Yotei Stable Locations and Services
The distribution of ghost of yotei stable locations is deliberately spaced to encourage exploration. You will rarely find two stables within close proximity of each other, which forces you to plan your routes carefully. If your horse is critically injured during a skirmish, you must either heal it using specific consumables or navigate the remainder of your journey on foot until you reach the nearest stable. This mechanic adds a survival element to exploration, punishing reckless riding through enemy territory.
| Stable Location | Region | Specialty Mount | Unlock Requirement |
|---|---|---|---|
| Rusutsu Post | Southern Ezo | Ironhide Draft | Complete prologue |
| Kutchan Ferry | Western Ezo | Wind Stepper | Clear local bandit camp |
| Niseko Ridge | Northern Ezo | Snow Trotter | Pay 50 monme |
| Toyako Springs | Eastern Ezo | River Runner | Complete side quest |
Finding Merchants Across Ezo
Beyond securing a reliable horse, sourcing equipment, provisions, and upgrades relies heavily on consulting the ghost of yotei merchants map. The merchants in Ezo are not generic vendors; they specialize in specific goods that reflect the local economy and resources. A blacksmith in a mining town will offer superior katana upgrades compared to a coastal fisherman who sells restorative items and bait. Understanding where these specialized vendors are located allows you to efficiently plan your resource gathering and upgrade progression, ensuring you are always prepared for the lethal duels ahead.
The in-game map does not automatically reveal every merchant upon entering a region. Instead, you must actively discover them by following the guiding wind to settlements, or by using your spyglass to spot merchant caravans traveling along the roads. Once discovered, these vendors are added to your known locations, but their inventory can shift based on the dynamic weather system and the time of day. A merchant caught in a heavy snowstorm might refuse to open their shop until the weather clears, forcing you to either wait or seek shelter elsewhere.
Identifying Key Ghost of Yotei Shop Locations
The most valuable ghost of yotei shop locations are often hidden in plain sight, requiring you to explore off the beaten path. Weapon smiths are particularly crucial, as they provide the edge necessary to defeat the Yotei Six. If you are struggling with a specific boss, backtracking to find a specialized weapon merchant is often the key to breaking through the difficulty spike. To optimize your combat readiness, check our Ghost of Yotei weapon merchants directory for exact blacksmith coordinates.
| Merchant Type | Primary Goods | Region Found | Currency Used |
|---|---|---|---|
| Blacksmith | Katana, Tachi upgrades | Mining towns | Monme |
| Apothecary | Healing salves, antidotes | Forest settlements | Monme / Herbs |
| Trapper | Wolf gear, bait | Mountain camps | Monme / Pelts |
| Traveling Caravan | Rare materials, maps | Roads (Dynamic) | Monme |
Dynamic Weather and Environmental Navigation
The environment in Ezo is a living, breathing entity that actively influences your exploration strategy. According to the official PlayStation website, the open world features dynamic weather including snow, rain, and the aurora borealis, all inspired by Mount Yotei's real-world climate. This is not merely a visual filter; the weather directly impacts your ability to navigate the ghost of yotei map. Heavy snowfall reduces the effectiveness of your spyglass, blinding you to distant threats and merchant caravans. Rain washes away scent trails, making it harder for your wolf companion to track roaming fauna toward hidden activities.
Because the weather is dynamic, no two journeys down the same path will feel identical. A route that was clear and safe during a sunny morning might become a treacherous, visibility-impaired death trap during a sudden blizzard at night. This forces players to constantly adapt their navigation tactics. When visibility drops, relying on the guiding wind becomes more important than ever, as it cuts through the visual noise of the storm to point you toward the nearest stable or shop. The aurora borealis, while beautiful, also serves as a natural compass in the northern sky, allowing seasoned players to orient themselves even when the wind is difficult to read.
Adapting Traversal to Storms and Aurora Borealis
Adapting to these environmental shifts requires specific strategies. When a blizzard hits, prioritize reaching a ghost of yotei stable location immediately to wait out the storm and switch to a cold-resistant mount. Attempting to scale a mountain with your grappling hook during high winds is extremely risky, as the anchor points become slick and unreliable. Instead, use the storm as cover to sneak into heavily guarded bandit camps, where enemies will be huddled around fires and their visibility severely compromised. The dynamic climate ensures that mastering the environment is just as important as mastering your blade.
Maximizing Your Wolf Companion and Fauna Tracking
Your wolf companion is arguably the most unique tool in your exploration arsenal. While the grappling hook and spyglass are passive instruments you activate at will, the wolf actively engages with the world around you. Following fauna is a core mechanic highlighted in the official exploration breakdown, and it serves as the game's primary method of organic discovery. Instead of relying on a cluttered minimap filled with icons, the game encourages you to observe animal behavior. Deer might lead you to a hidden hot spring that restores your health, while a fleeing fox could guide you to a forgotten shrine containing a valuable charm.
The wolf helps track these fauna trails, highlighting subtle environmental cues that you might otherwise miss. When you play the shamisen to change the wind, you can specifically tune it to highlight different types of activities, such as fox dens, bamboo strikes, or hot springs. This creates a deeply immersive exploration loop where you are constantly reading the landscape and reacting to the behavior of the wildlife. If you are hunting down every hidden item in the game, utilizing this fauna tracking system is essential. For a comprehensive breakdown of every hidden item, refer to our Ghost of Yotei collectible guide.
Tracking Activities Through Animal Behavior
Understanding the specific behaviors associated with different animals will drastically improve your exploration efficiency. A bird circling a specific grove of trees almost always indicates a pillar of honor where you can customize your sword guard. Golden eagles tend to soar near high-altitude shrines, requiring you to use your grappling hook to reach their nests. By paying attention to these subtle cues, you can clear the map organically without ever feeling like you are checking items off a list. The wolf will bark or growl when a tracked animal is near, ensuring you never lose the trail even in dense foliage or during heavy snowfall.
Frequently Asked Questions
How do I unlock new horse stables in Ghost of Yotei?
You unlock new stables by either discovering them organically while exploring the map or by completing specific side quests that involve clearing nearby bandit camps. Once you approach a stable, it immediately registers as a fast travel point and becomes available for purchasing new mounts or resting your current horse.
Where can I find the best weapon merchants?
The best weapon merchants are typically located in large mining towns or castle towns across Ezo. These specialized blacksmiths offer superior katana upgrades and unique weapon poses. You must clear the local region of hostile forces before they will open their shops to you.
Can I change the guiding wind direction?
Yes, you can change the guiding wind direction by playing the shamisen at any safe location. Different songs unlock different tracking options, allowing you to highlight specific fauna, activities, or points of interest on your map, which makes exploration much more efficient.
Do merchants restock their inventory over time?
Yes, merchant inventories in Ezo shift based on time of day and dynamic weather conditions like snow, rain, and aurora. Traveling caravans between regions update stock as they move. If a merchant lacks materials, rest at a nearby stable and check back after weather changes.